
ROCKING CHAIR RESTORATION
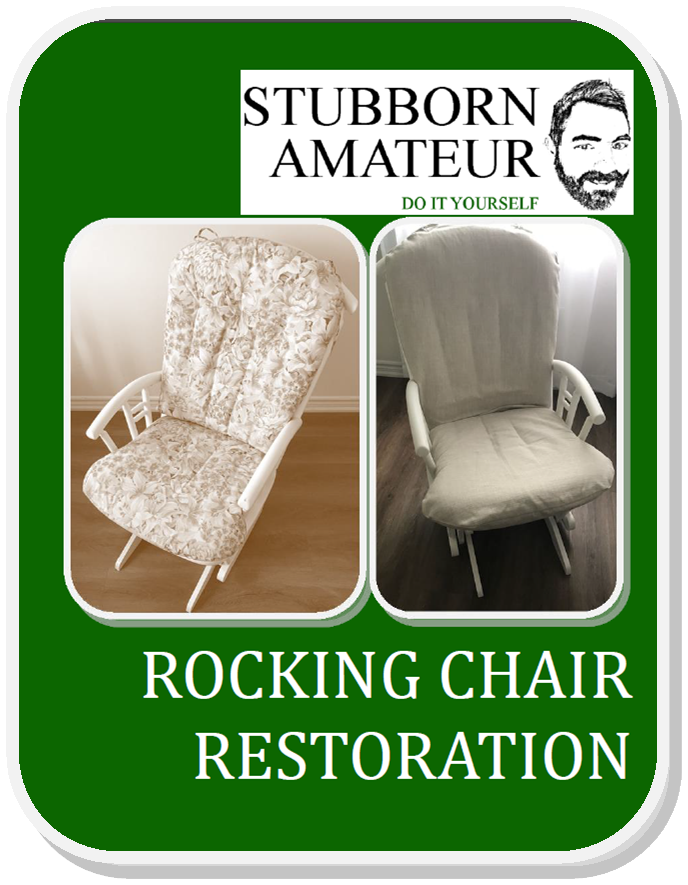

Sewing is just another type of joinery. Pulling together a custom cushion for friends or family is a beginner sewing project that anyone can attempt. In this case we refinished the cushions and paint job on a second-hand gliding chair. The cushion pattern required an update. A paint job and cushion cover easily modernized this chair.
This project can be broken down into three skill areas:
· Fabricating Cushion Covers
· Adding Zippers
· Chair Refinishing
Glossary
Basting Stitch - A sewing term for a stitch intended to temporarily hold workpieces together that is easily removed.
Zipper foot – a special presser foot attachment for a sewing machine that is designed for zipper installation into fabrics.
Cushion Covers
The Plan
This job needed new covers for the backrest and seat cushion. The original cushions are constructed by only two pieces of material. Coverers could be fabricated by joining top and bottom pieces of any properly sized upholstery – we went with off-white.
Materials
Upholstery
Thread
Zippers
Tools
Measuring Tape
Fabric chalk
Scissors
Clips or pins
Sewing Machine
Zipper foot
Seam Ripper
Process

1.0 Take measurements of the original cushions. We used the measuring tape to measures the length and width of the cushion from seam to seam. We added ½-inch to each side of the project for a seam allowance.

2.0 Trace the project onto the fabric. With a piece of tailors chalk, we traced an outline of each cushion on the back side of the fabric.

3.0 Add a seam and depth allowance to the traced outline. We used a measuring tape to find the length and width of the chalk outline. If the chalk outline was smaller than the measurements from step one, we calculated the difference. We then added a second chalk outline that included the difference (for a depth allowance) and an additional ½-inch for a seam allowance.
4.0 Cut a second piece of upholstery to be the opposite face of the project. We repeated steps 1-3 to make a second piece with the same dimensions.

5.0 Align the two pieces of cut upholstery with the finished sides facing each other. We used fabric clips or pins to temporally hold the two work pieces.
6.0 Use the sewing machine to join the two work pieces on three sides with a straight or zig zag stitch at 1/2 –inch from the cut edge.
NOTE: We left the bottom of the cushions open to install a zipper.

7.0 When three sides of the workpiece were sewn together, we turned the upholstery inside-out. We test-fitted the workpiece on the cushions. If the workpiece was loose in some areas, we reversed the fabric and added a new seam with more distance from the edge of the material in the areas that were loose. This step tightened the cover when fitted on the cushion.
Adding Zippers

1.0 Purchase a zipper of the right length. The functioning length of a zipper can be reduced by adding a staple or sewing in several loops of thread.
2.0 Cut a rectangular piece of upholstery that will fit the dimensions of the side of the cushion cover intended to have the zipper.

3.0 Fold the fabric in half and sew basting stitch 1/2-inch from the folded edge.

4.0 Cut and iron the basted fabric. We used scissors to cut the folded edge of the fabric. We folded the cut edges at the basting stitch and used an iron to press flat the workpiece.

5.0 Install the zipper. We aligned the zipper to face the basting stitch. We used a zigzag stitch on both sides of the zipper to fasten it to the basted fabric.

6.0 Remove the basting stitch. We used the seam ripper to remove the basting stitch from the top face.

7.0 Install the zipper face into the cushion. We turned the cushion bag inside-out and positioned the zipper face upside-down at the gap in the bag. We used a zig zag stitch to fasten the zipper face to the cushion bag.
After repeating the process for both cushions (the seat and back rest) that part of the project was complete.
Chair Refinishing
The chair refinishing was a simple matter of sanding and repainting.

1.0 Roughly sand all surfaces of the chair. We used an oscillating tool and sanding blocks with 120 grit sand papers to gently sand all surfaces of the chair.

2.0 Clean off the dust. We used a rag and some isopropyl alcohol to wipe off any find duct left from the sanding process.

3.0 Paint the project. We used a matte white spray paint to repaint the project. We used painters tape and cardboard to cover the parts of the chair that did not need paint.
Finished Product

References
New complete Guide to sewing: Step-by-step Techniques for Making Clothes and Home Accessories. (2002). Readers Digest.
Dennis, S. (2011). Sewing home decor: The Basics and Beyond. Landauer (IA).
Association, R. D. (1977). Reader’s Digest Fix-it-yourself manual.